

The Safe Wash Method
Every valet and detail we carry out follows the same careful order of work, designed to lift dirt away safely and help protect your paintwork from swirl marks.
- Two buckets
- pH neutral shampoo
- Microfibre and an air blower
- Every job guaranteed
The Safe Wash Method Step by Step
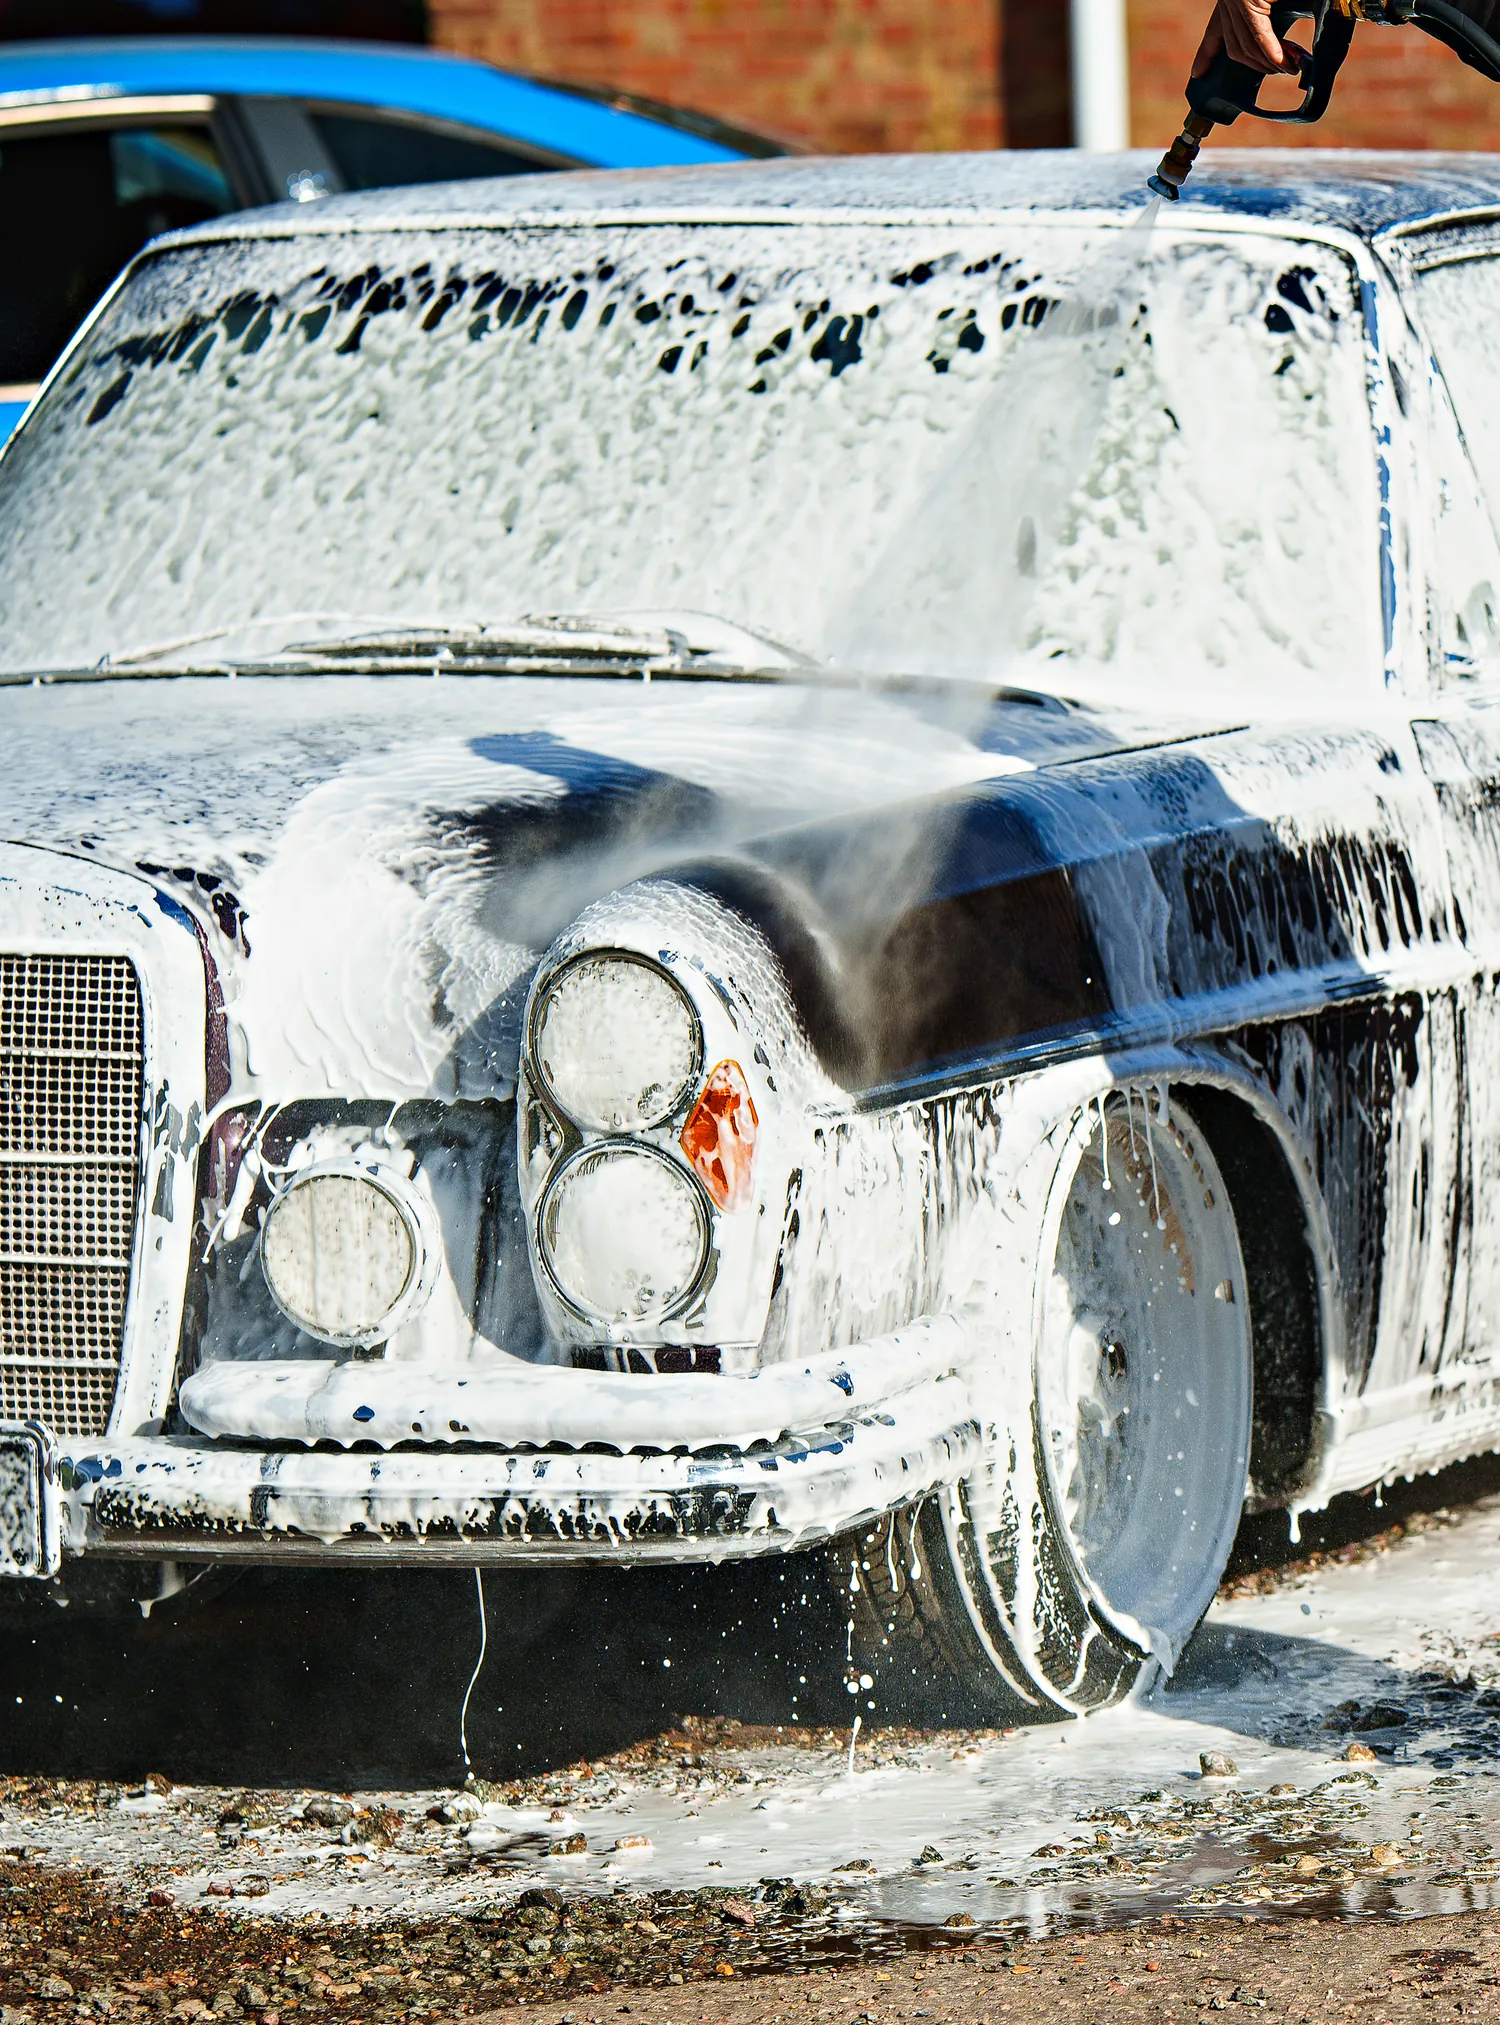
The safe wash method is the order of work Ride Effect follows on every vehicle. On a car or van, it starts with the wheels, cleaned on their faces and inner barrels, followed by a citrus pre wash including the door shuts and sills, a snow foam pre wash and a safe two bucket hand wash with pH neutral shampoo, before the vehicle is rinsed and dried with microfibre towels.
On an Extensive Clean and on every detailing stage, an air blower is used for drying as well. Each step has the same purpose: to lift dirt off the paintwork without rubbing it into the surface, because most swirl marks are caused by unsafe washing and drying.
See Why Two Buckets Matter
Drag the wash mitt between the wash bucket and the rinse bucket to see where the grit ends up. Rinsing the mitt after every section leaves the dirt at the bottom of the rinse bucket, not on your paintwork.
Drag the mitt from bucket to panel to bucket, or use the three steps. Watch where the grit ends up.Drag the mitt, or use the three steps below.
Three Panels, No Grit
The grit stayed in the Rinse bucket, not on the paint. Most swirl marks are caused by unsafe washing, which is why every job we do starts with a safe two bucket hand wash.
Drag the mitt into the Wash bucket to load it with shampoo, or use the buttons below.
Now wipe the panel in straight lines. The mitt lifts the grit as it goes.
Dip the mitt in the Wash bucket first. A dry mitt only pushes the dirt around.
That load of shampoo is used up and the mitt is carrying grit. Rinse it in the Rinse bucket before it goes back in the shampoo.
The grit drops through the guard and stays at the bottom, away from the mitt. Back to the Wash bucket for fresh shampoo.
That panel is clean, and no grit went back onto the paint. On to the next one.
That is how swirl marks start. The mitt went back in the shampoo carrying grit, so every wipe now drags that grit across the paint. Start again with fresh water to do it the safe way.
Three panels washed the safe way. Carry on, or start again with fresh water.
The wash bucket: Shampoo
The rinse bucket: Clean water and a grit guard
An illustration of the two bucket method.
How Swirl Marks Are Caused
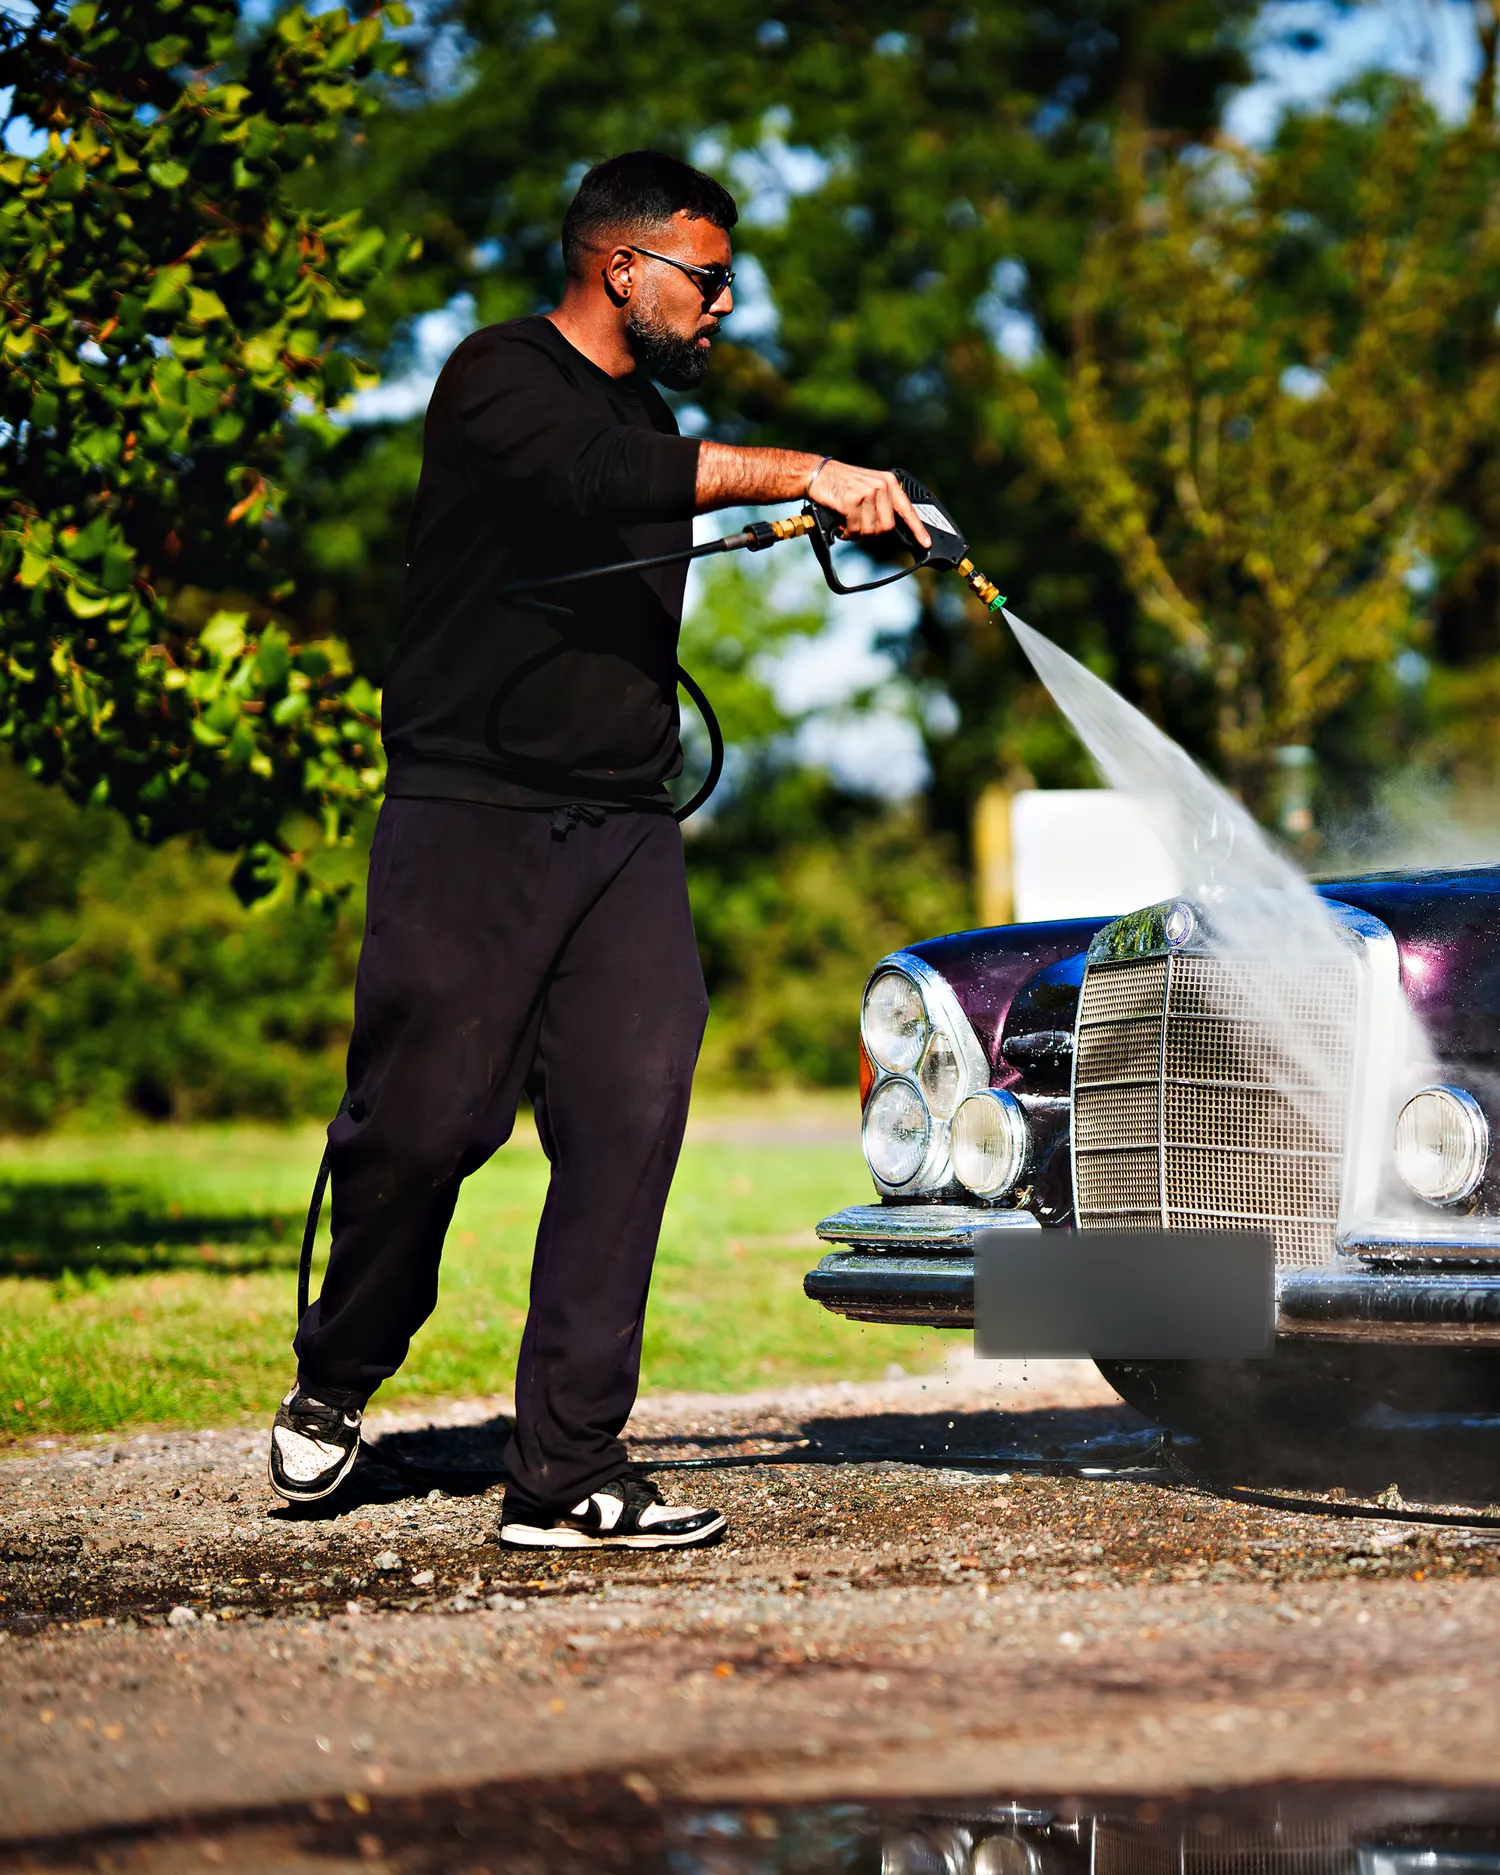
Swirl marks are fine scratches in the clear coat that show up as circular patterns in sunlight or under a bright light. Most swirls are caused by unsafe washing and drying. When grit and road dirt are rubbed across the surface by a dirty sponge, cloth or towel, each particle leaves a small scratch behind, and over time those scratches build up into a dull, hazy finish.
Once swirl marks are in the paint, a wash will not remove them. Removing them takes machine polishing, which is what our paint correction stages are for. The better approach is to avoid adding them in the first place, and that is the purpose of every step in the safe wash method, on every visit.
Dried by Hand, Panel by Panel
The last stage of a wash, sped up: the car dried by hand with microfibre towels on the customer’s drive.
Lifting Dirt Before the Hand Wash
The first part of every wash is about lifting as much dirt as possible before the hand wash begins. The wheels are cleaned first, on their faces and inner barrels. A citrus pre wash then goes onto the bodywork, including the door shuts and sills, followed by a snow foam pre wash. Both loosen and lift embedded dirt, so more of it is rinsed away before a wash mitt touches the paint.
The wash itself uses pH neutral products. A pH neutral shampoo is gentle on the paintwork and on any sealant or coating already protecting it, which matters on a vehicle that is washed weekly or monthly on our Maintenance Plan. On an Extensive Clean, the snow foam is pH neutral as well.
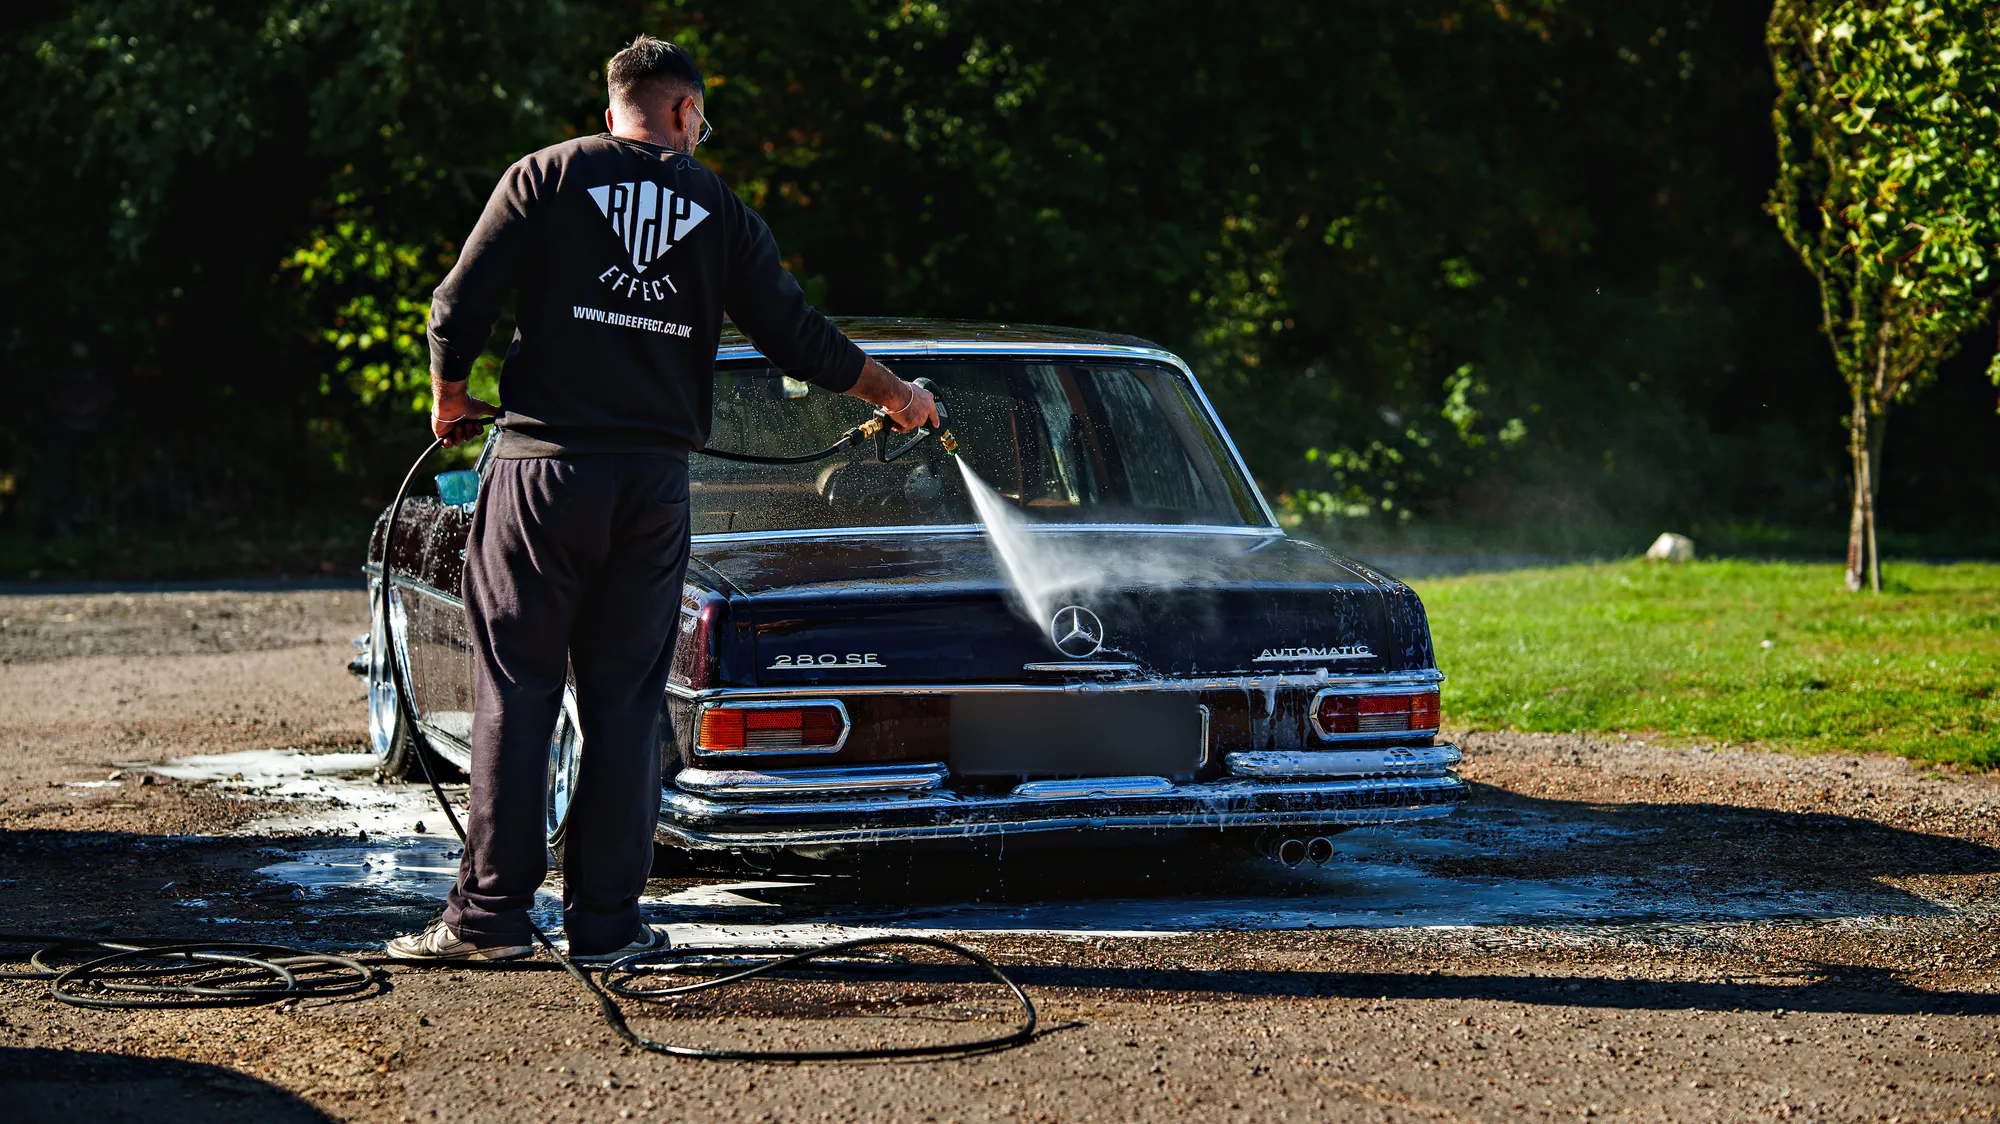
The Two Bucket Hand Wash
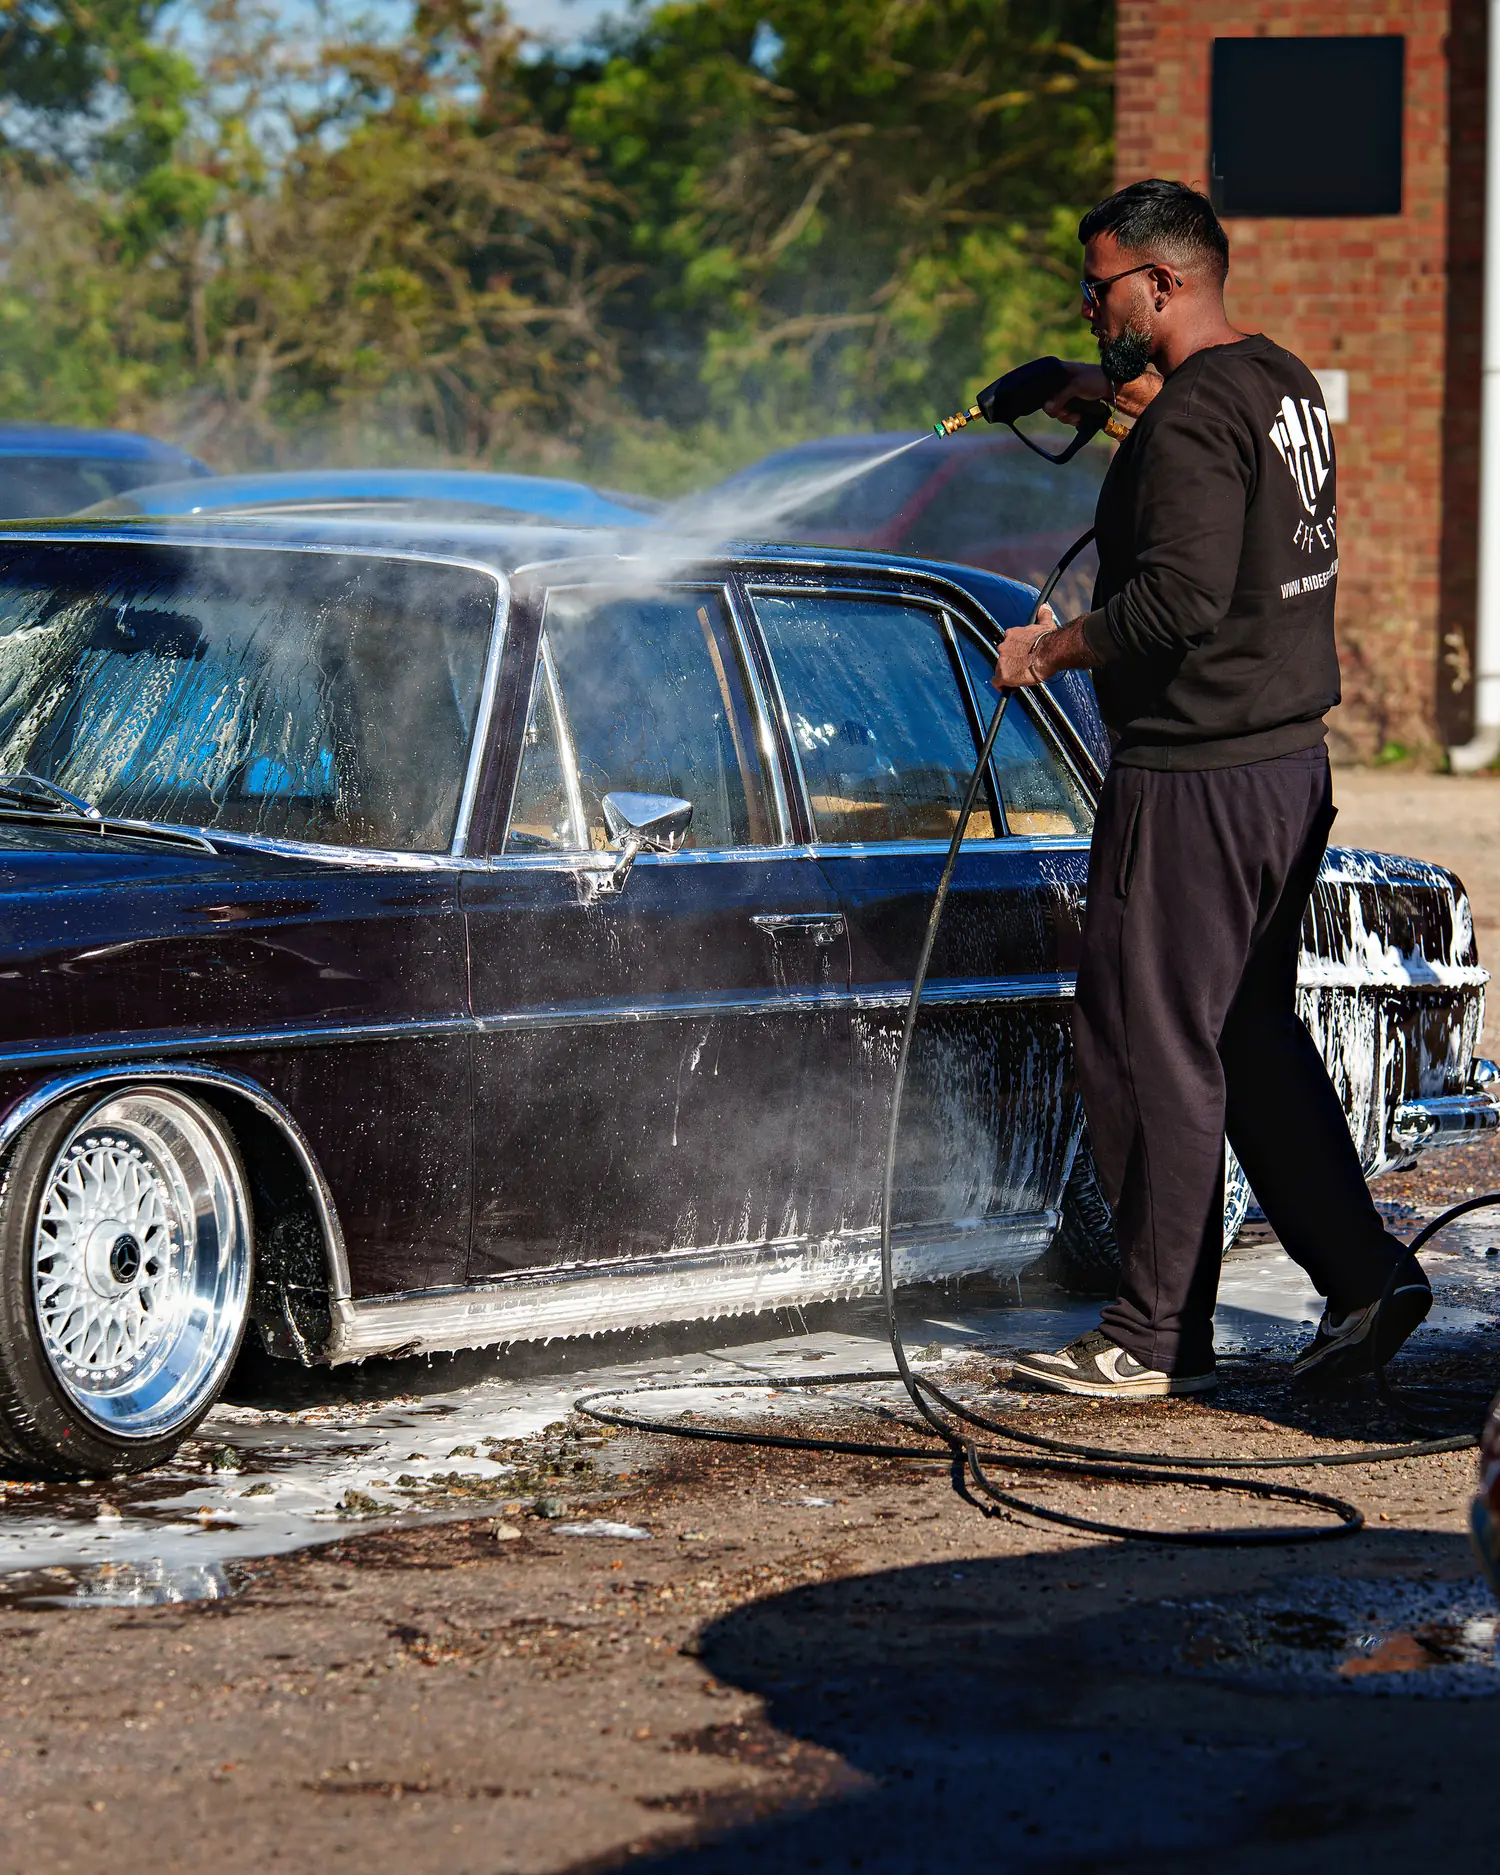
The hand wash uses two buckets. One holds the pH neutral shampoo and the other holds clean water for rinsing. After each section of the vehicle, the wash mitt goes into the rinse bucket first, where it releases the dirt it has picked up, and only then back into the shampoo. The grit settles at the bottom of the rinse bucket and is not carried back onto the paint.
It is a simple discipline, and one of the most important parts of a safe wash. With a single bucket, dirt from the vehicle builds up in the wash water and returns to the paintwork each time the mitt goes back in. Keeping the two jobs apart protects the finish on every wash we carry out.
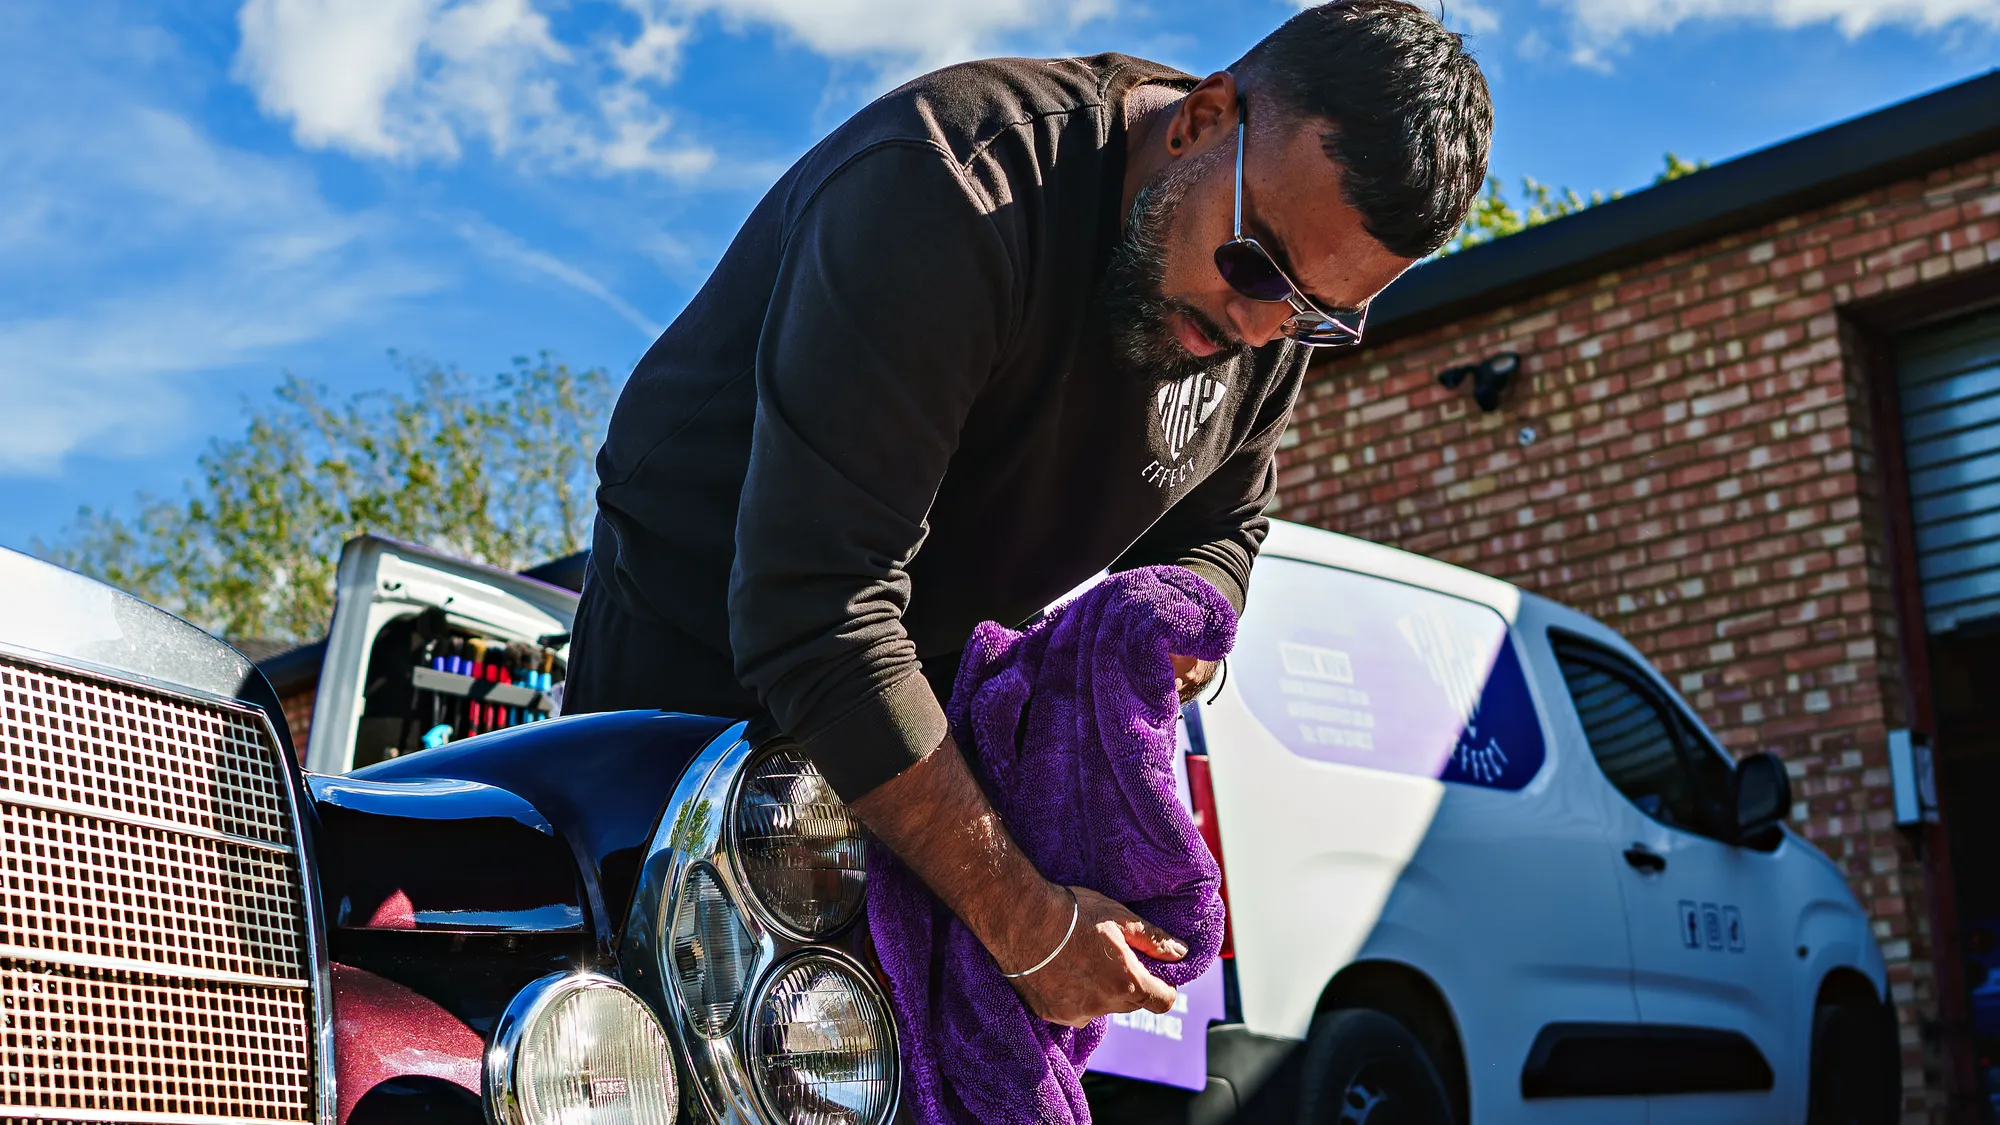
Drying and Preparing Your Paintwork
Drying is the other main cause of swirl marks, so it gets the same care as the wash. Every vehicle is rinsed and dried with microfibre towels, which are soft on the paint. On an Extensive Clean and on every detailing stage we also use an air blower, temperature controlled on the Extensive Clean, to clear water with less contact.
Before any machine work, the vehicle is washed, decontaminated and dried so it is ready to be treated. Decontamination deals with the bonded particles a wash leaves behind, using iron fallout treatment, tar remover and clay. Trims are then masked for protection, the paintwork and lights are machine polished, and a panel wipe follows before the sealant or coating is applied.
Anything Missed, Put Right
Every job is covered by our satisfaction guarantee. If anything is not as it should be, please contact Ride Effect within 24 hours with photos, and we will arrange a time to put it right. Photographs show us exactly what you have noticed and where it is on the vehicle, so we understand the issue before the time is arranged.
Photographs are also a good way to see the standard we work to. Our gallery shows finished valets and details, all carried out with the method described on this page, and you can follow our latest work on Instagram at @rideeffect and on Facebook at rideeffectUK.
What Is the Two Bucket Method?
The two bucket method is a hand wash that uses one bucket of pH neutral shampoo and a second bucket of clean water for rinsing the wash mitt. The mitt is rinsed after each section of the vehicle, so the dirt it picks up stays in the rinse bucket and is not carried back onto the paintwork.
What Causes Swirl Marks on Car Paint?
Most swirl marks are caused by unsafe washing and drying. Grit rubbed across the paint by a dirty sponge, cloth or towel leaves fine scratches in the clear coat, which show up as circular marks in sunlight. A safe wash helps to avoid them, and a Stage 2 or Stage 3 Correction can remove them.
Why Do You Use a Snow Foam Pre Wash?
A snow foam pre wash loosens and lifts dirt from the paintwork before the hand wash begins, so there is less grit on the surface when the wash mitt touches it. On a car or van it follows the wheel clean and a citrus pre wash, which also covers the door shuts and sills.
Do You Use an Air Blower on Every Vehicle?
No, an air blower is used on an Extensive Clean and on every detailing stage, alongside microfibre towels. A Maintenance Wash is rinsed and dried with microfibre towels. On the Extensive Clean the air blower is temperature controlled, and it helps to clear water from the surface with less towel contact.
Is My Car Decontaminated Before Machine Polishing?
Yes, before any machine work the vehicle is washed, decontaminated and dried so it is ready to be treated. Decontamination uses iron fallout treatment, tar remover and clay to deal with bonded particles. Trims are masked for protection before polishing, and a panel wipe follows before the sealant or coating is applied.
Do You Hand Wash Every Vehicle?
Yes, every vehicle is washed by hand using the safe two bucket method. Cars and vans have their wheels cleaned first, then a citrus pre wash, a snow foam pre wash and a hand wash with pH neutral shampoo. Motorbikes have a pre wash and snow foam, applied with a soft detailing brush, before their two bucket wash.
Book Your Next Valet or Detail
Call or WhatsApp us on 07734 374012, email [email protected] or send a booking request. A £10 deposit per vehicle confirms the booking and comes off the final balance.